Sewing in Arizona How-to Series: How to Sew a Button
Button, button, who’s got the button? In all seriousness, sewing buttons is a fundamental skill that any seamstress needs if they’re to advance. While it is a relatively simple talent to master, that doesn’t mean you shouldn’t take technique seriously. Today, let’s talk about sewing buttons 101.
What Type of Thread Should You Use?
Let’s start with the thread. To keep a button in place, you’ll want a strong thread made to stand firm against yanking. Two of your best options include:
- Corespun: Corespun polyester thread has an inner filament core wrapped with polyester on the outside. The double layers provide double protection against snapping and breaking.
- Mercerized: Thread that has been “mercerized” has been submerged in a chemical solution to make the fibers swell and strengthen. Most threads made for sewing machines have undergone the mercerization process, so sewing machine thread is a safe bet for sewing buttons.
How to Thread a Needle for Sewing Buttons
If you like, you can use beeswax to straighten the point of your thread and make it easier to slip through the eye of the needle. Typically, though, you can get a fine enough point if you use sharp scissors for snipping the thread.
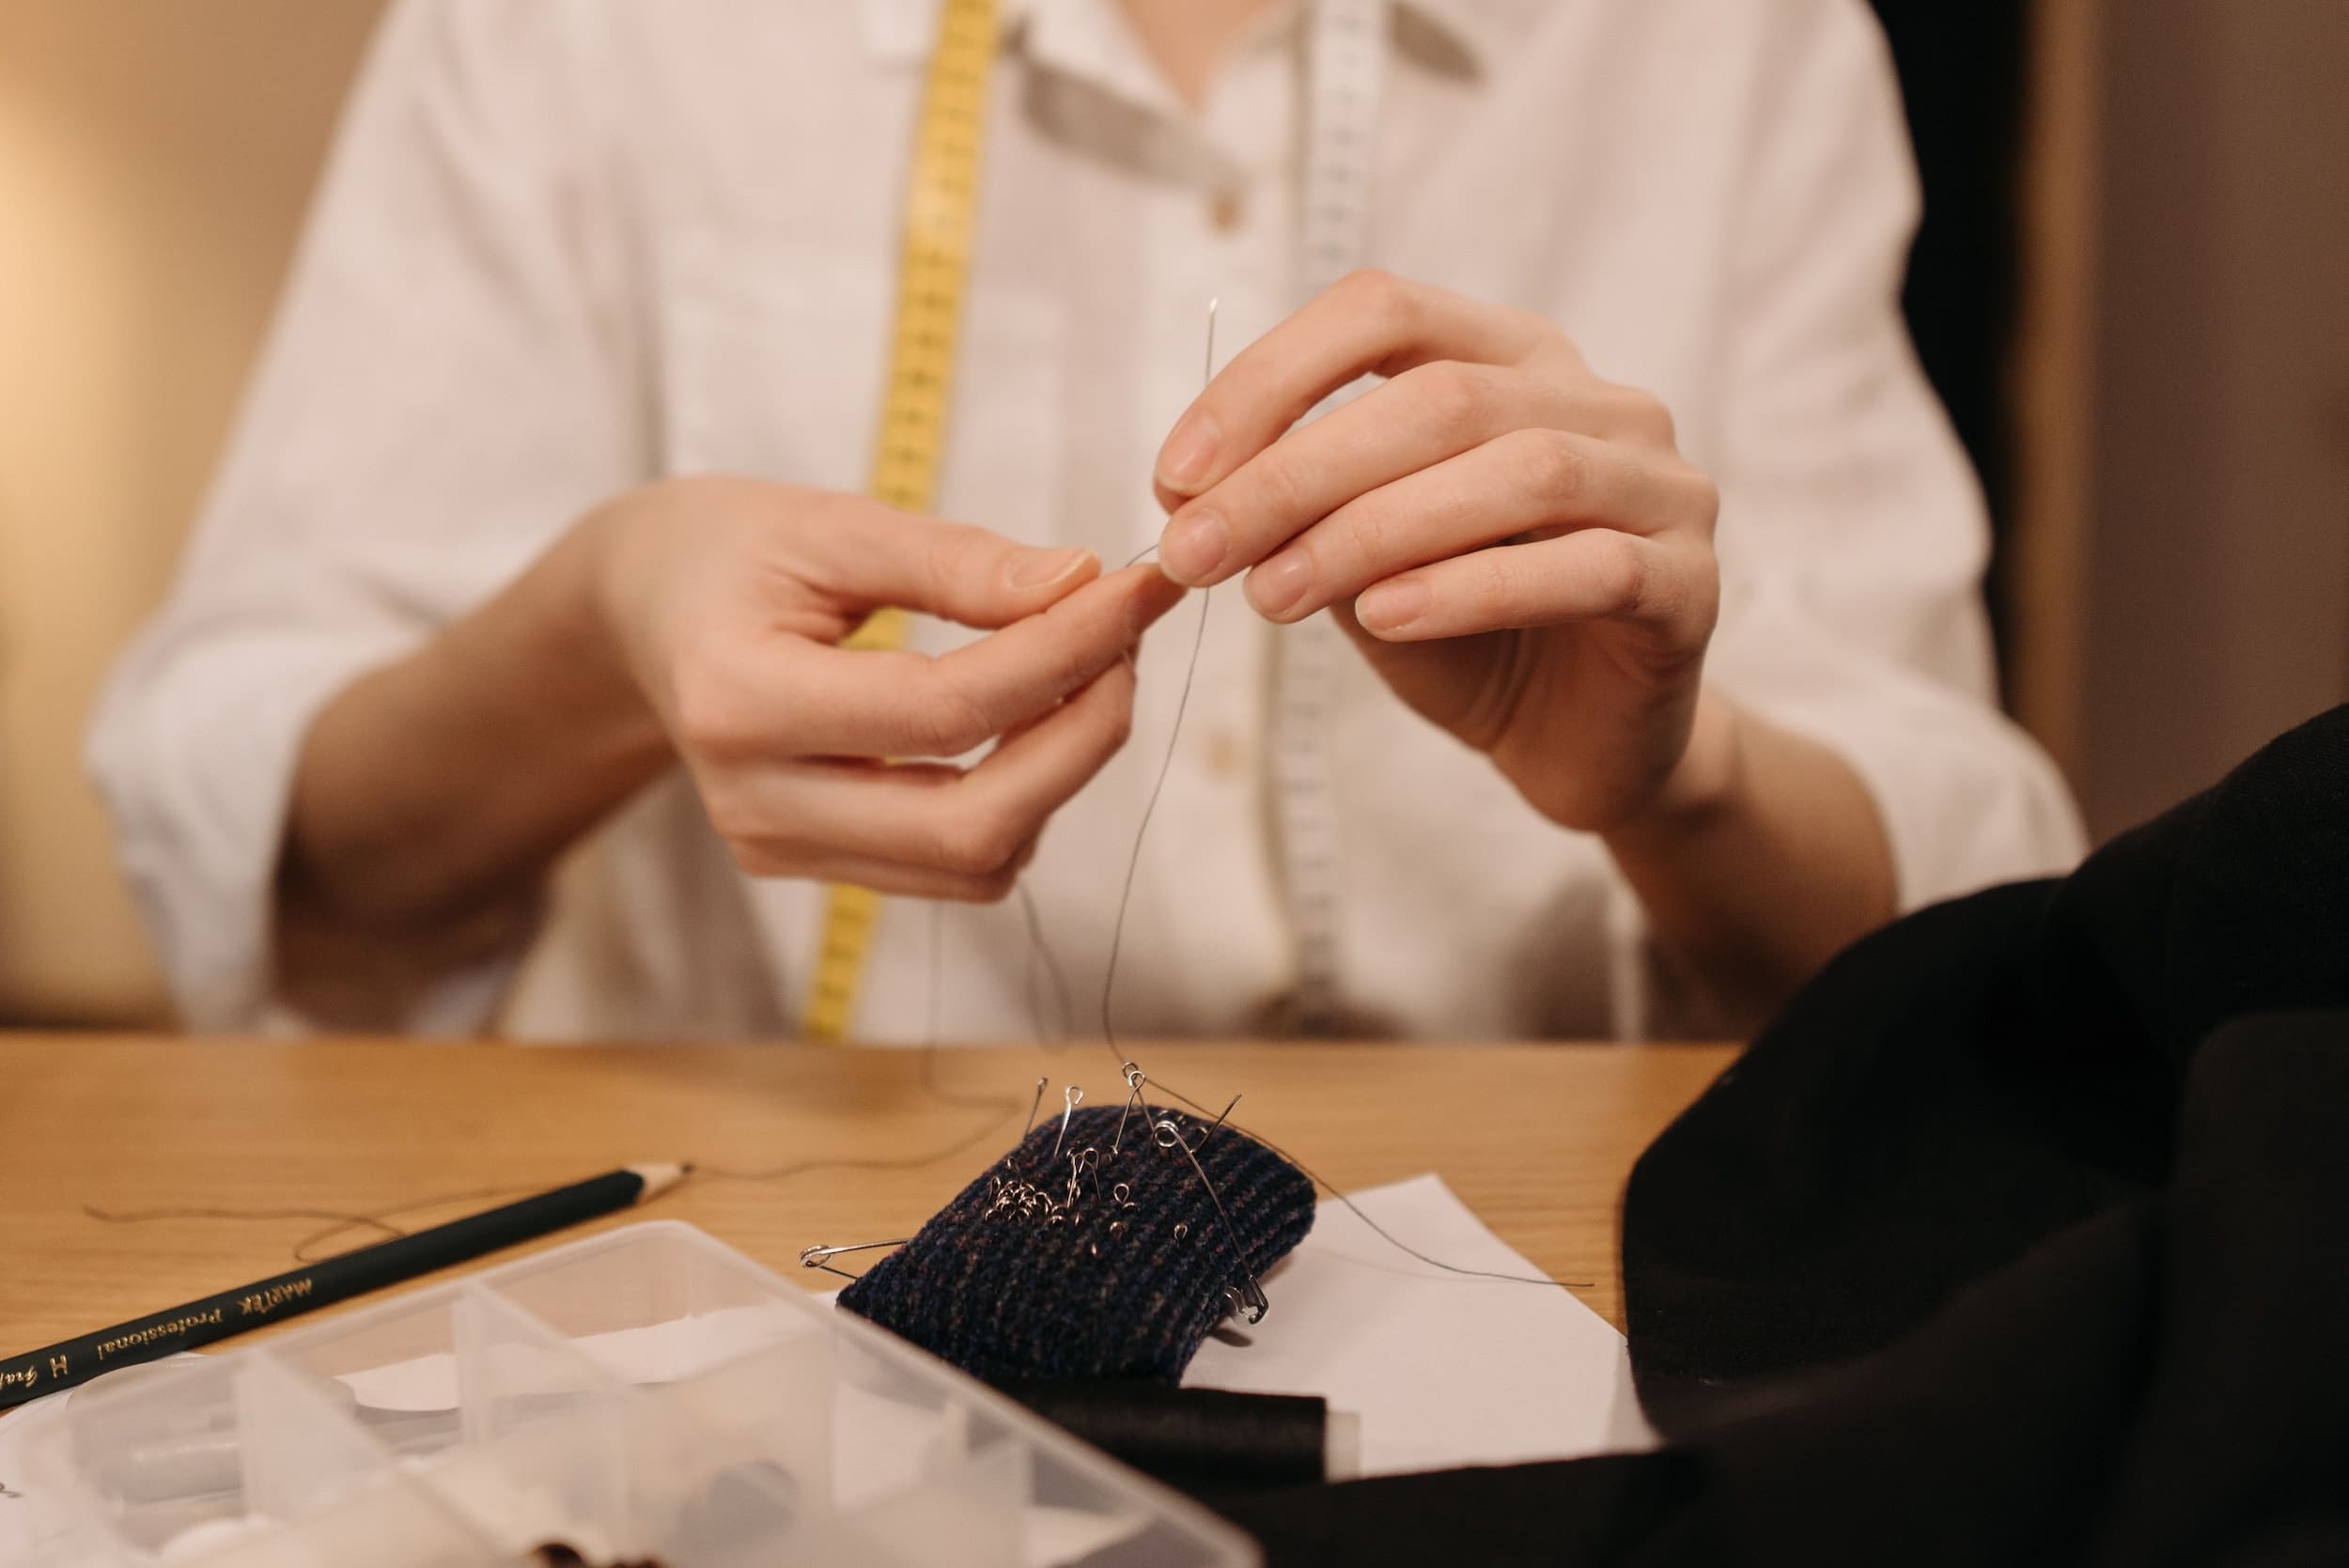
Once you’ve threaded your needle, double back until the two ends are even. Then lick your finger, wrap the ends once or twice around the end of your finger, and pull it off while rubbing the knot together. Pull down on the knot with two fingernails until it tightens at the bottom. This will twist it into a strong knot that will hold.

Time to Sew on Your Button
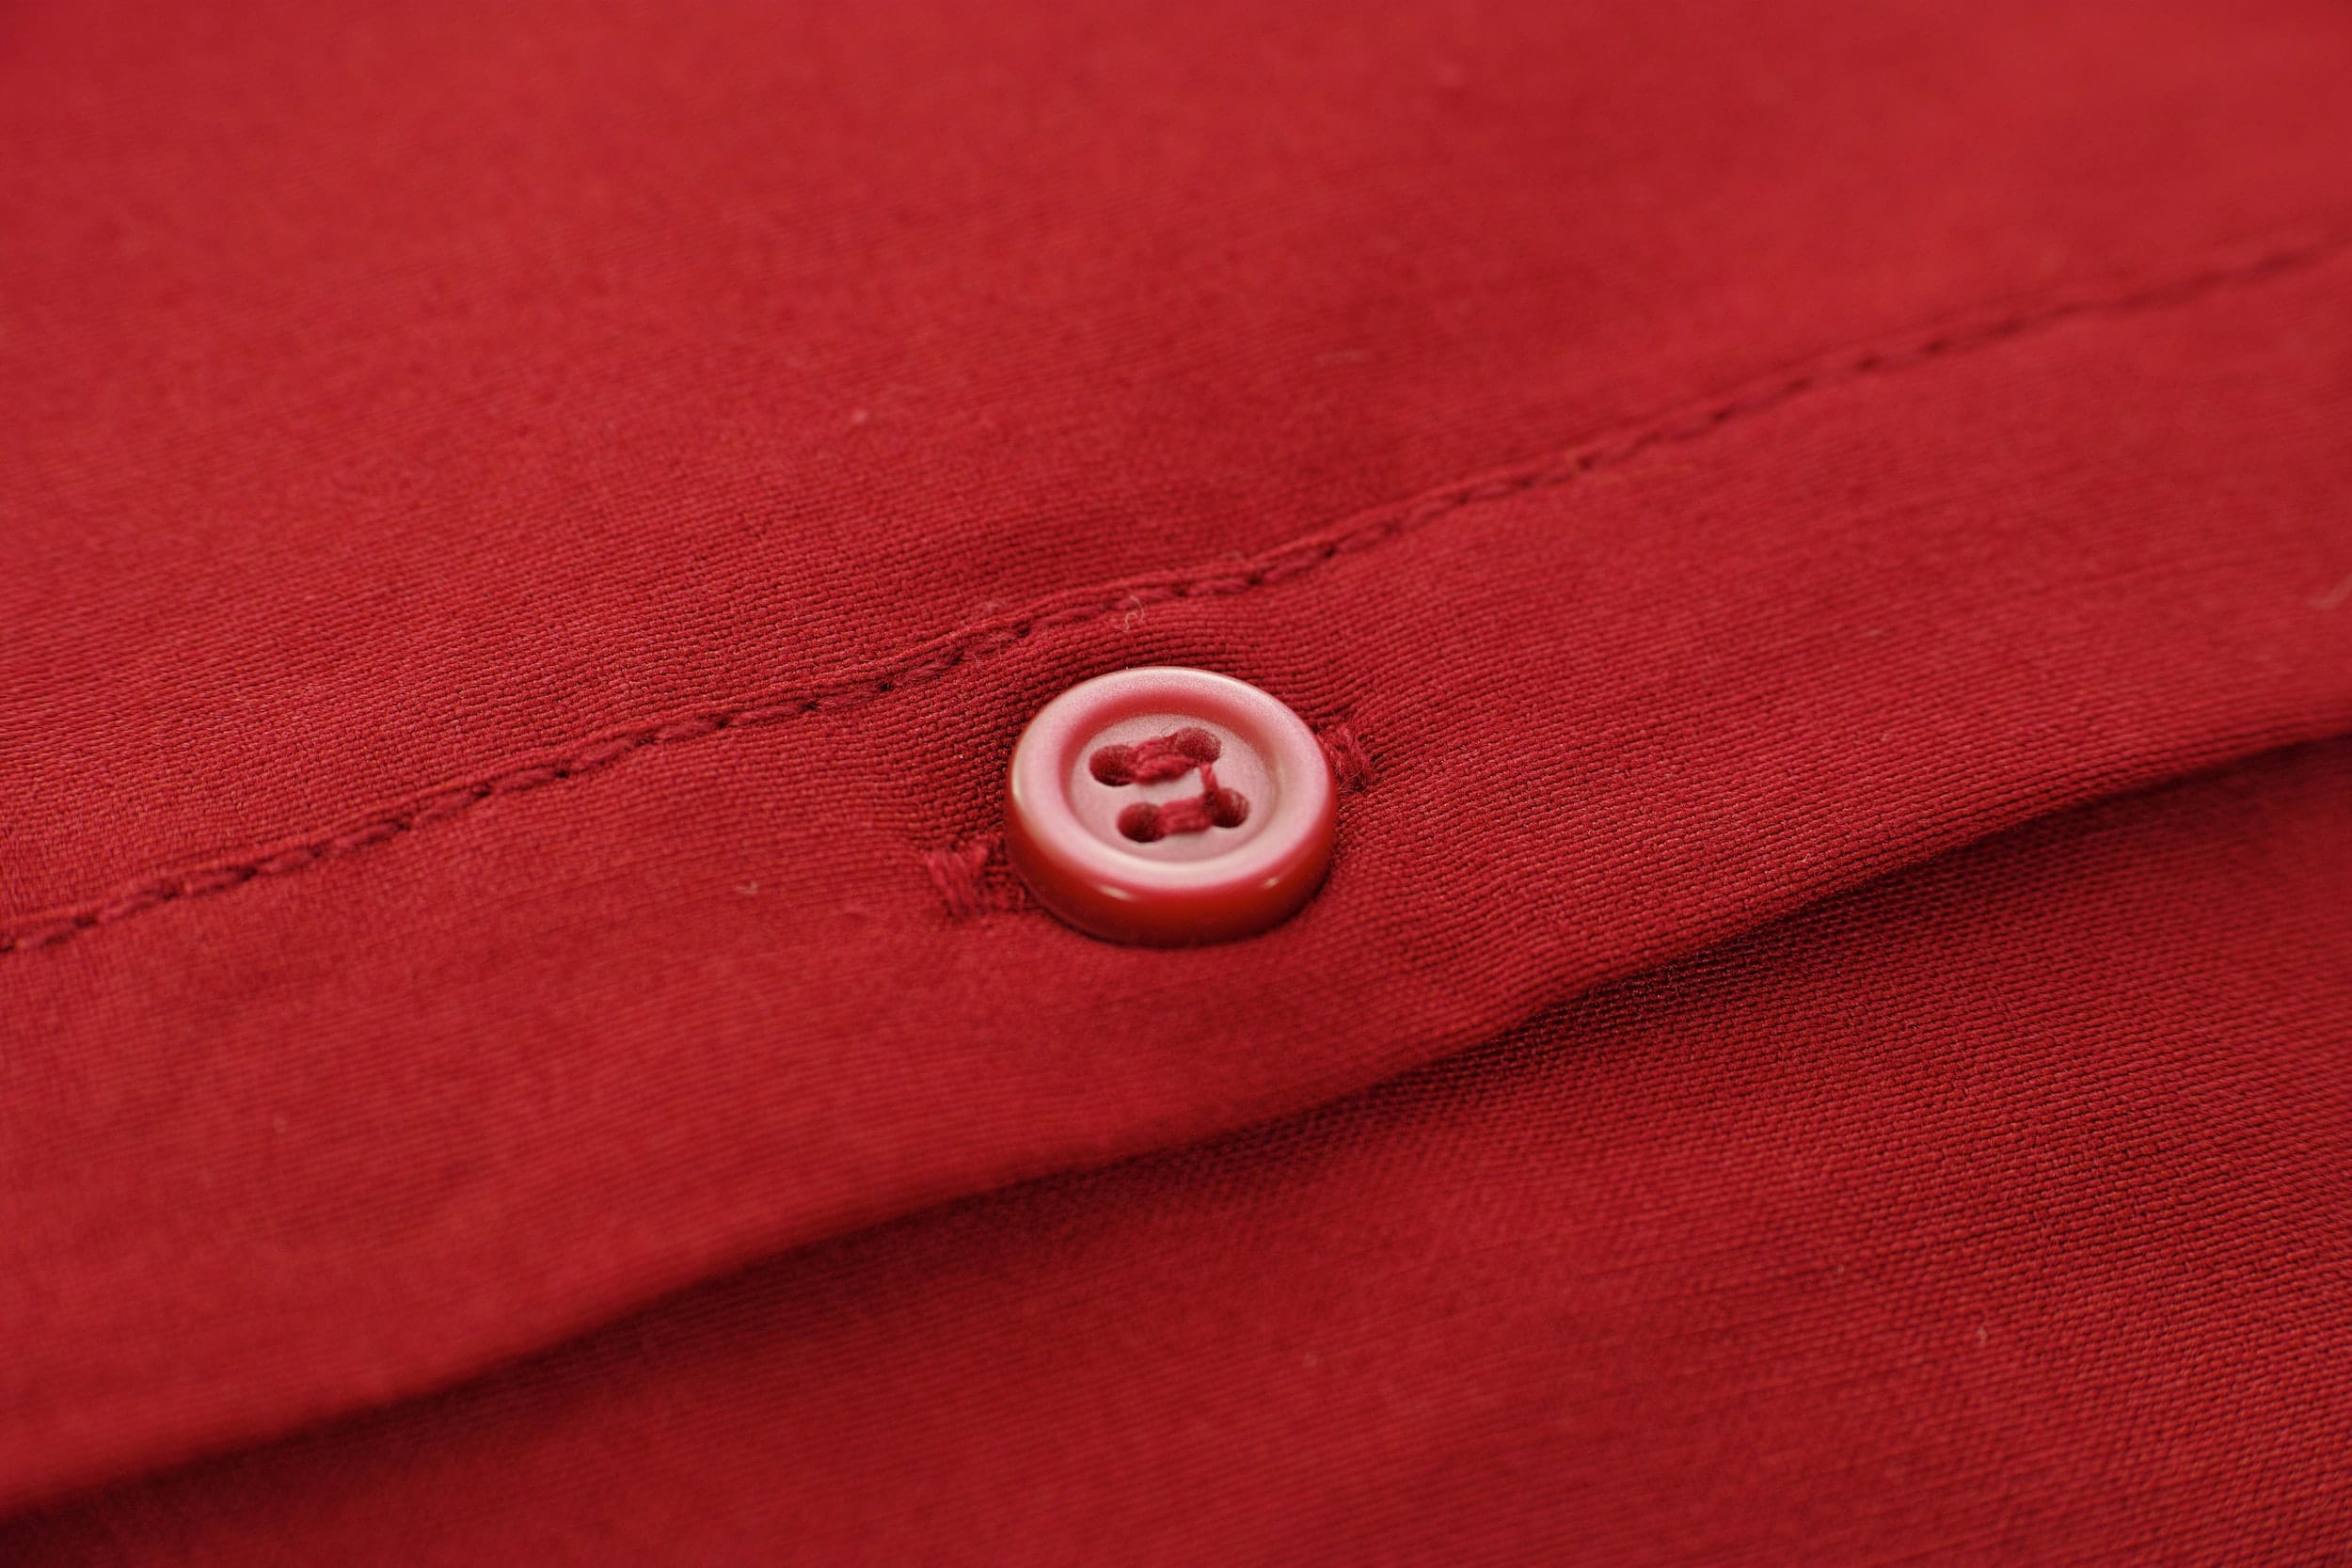
Start on the underside of the fabric, push up your needle and slide the button onto it. Pull your thread up all the way, then push your needle back down through a different buttonhole and through the back of the fabric. Repeat. If sewing the needle by hand, there are a few tips to keep in mind:
- Make at least three full loops of all buttonholes.
- For a four-hole button, alternate into which two buttonholes you’re running the thread. Don’t make three loops of one pair, then three loops of the other. It’s not as strong.
- For a four-hole button, you can do two parallel lines or a crisscross pattern.
- For thick fabric, create a “shank.” When you sew your button on, wrap the thread around the base of the strands on top of the fabric to make a little bundle. It puts distance between the button and the material so that the top fabric can go on without bunching.
- You can also buy shank buttons.
Of course, if you prefer to take the fastest and strongest route, you can always buy a button foot. This holds the button in place while allowing you a clear view of the buttonholes. That way, you can run the thread through them without damaging your needle or button.
Want to Learn to Sew? Cathey’s Covers All Your Sewing in Arizona Needs!
If you’re looking to take your skills to the next level, the team at Cathey’s is here to help. We’ve fostered a thriving community of sewers from all skill levels for nearly seven decades. Today, we continue to offer unparalleled technical support, servicing, materials, and classes. Whether you’re looking for button tutorials or anything else, we look forward to seeing you soon.


